Displaying color images on the screen using the R1BBIT board (ONE, MINI, and NANO)
To create an image, we use the built-in editor in the cloud platform.
Open Code Editor → Tools → Image Converter.
Click Load Image and select an image file.
The Crop and Resize functions are available.
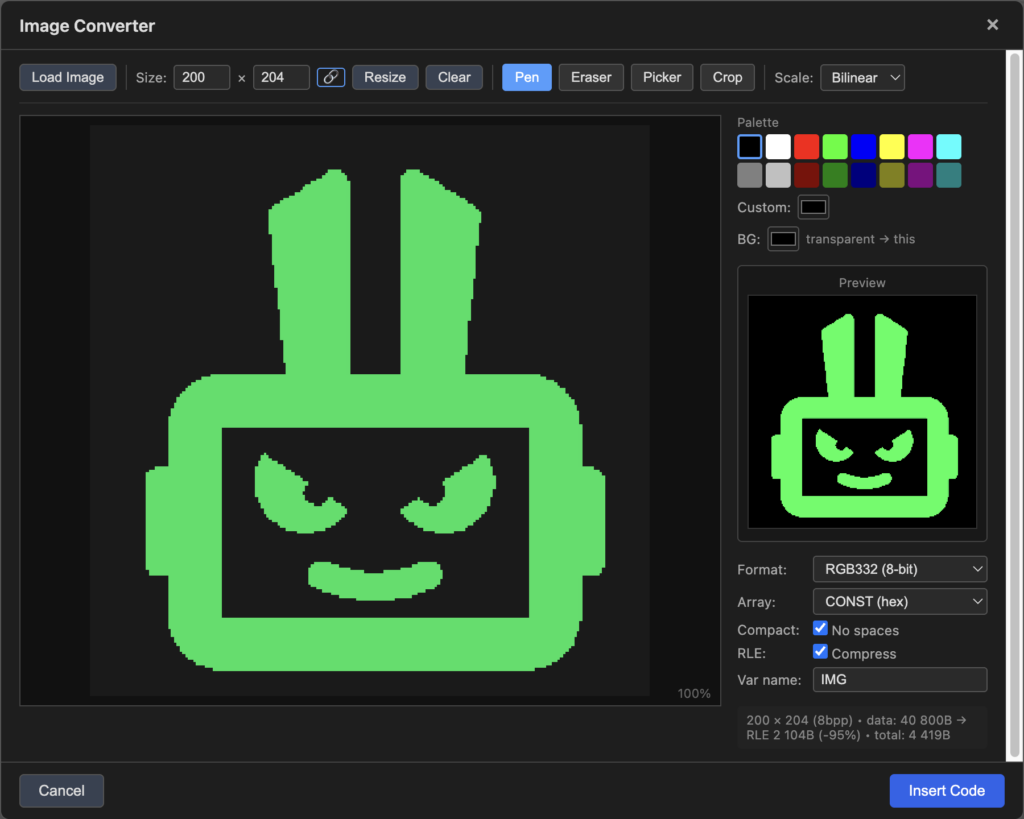
On an empty tab, click “Insert Code”.
// Size: 200x219, Format: RGB332 (8bpp), 43800 bytes -> RLE: 2138 bytes (-95%)
CONST IMG RLE
FF00FF00FF00FF00FF00FF00FF00FF00FF00FF00FF00FF00FF008400841D9700
0019831DFF009E000019861D9500871DFF009A008A1D93008A1DFF0097008B1D
---------
FF1D901DB400FF1D8D1DB800FF1D8A1DBB00FF1D861DC100FF1DFF00FF00FF00
FF00FF00FF00FF00FF00FF00FF00FF00FF00FF00FF00FF00E100
END_CONST

DISPLAY_INIT(SPI, ST7796,480,320,0,2,4,3)
DISPLAY_CLEAR(0x0000)

DISPLAY_BITMAP(0, 0, #IMG, 200, 219, 1, 8)
Before DISPLAY_BITMAP, add the initialization and clearing of your display type. IMG is the name of the constant in which your image is encoded.
It can be called whenever needed, overwritten, and redrawn with an offset in different areas of the screen.
Upload to Device -> Script Start
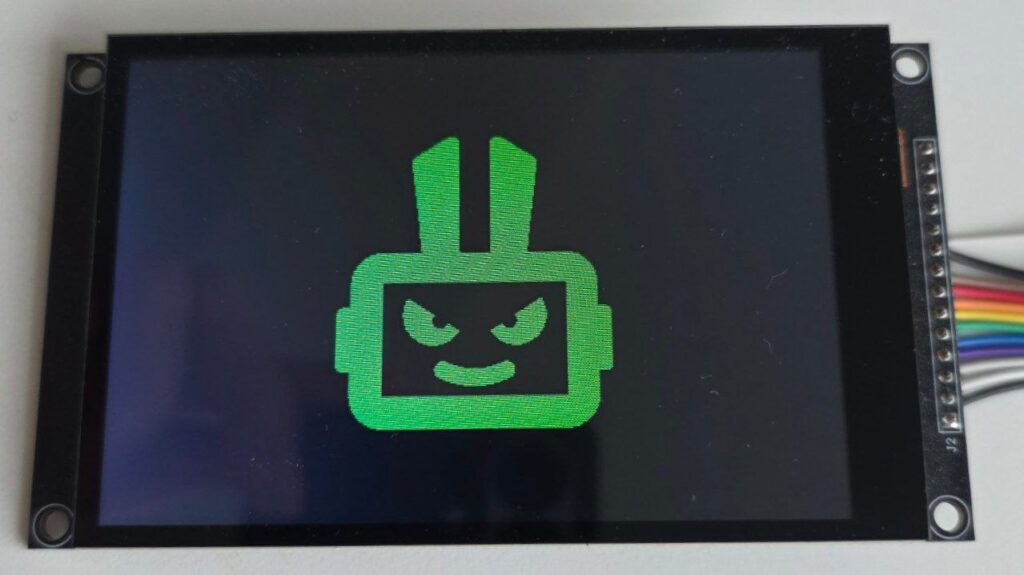
In this way, you can display one or multiple images in 1-bit, 8-bit, and 16-bit color formats.