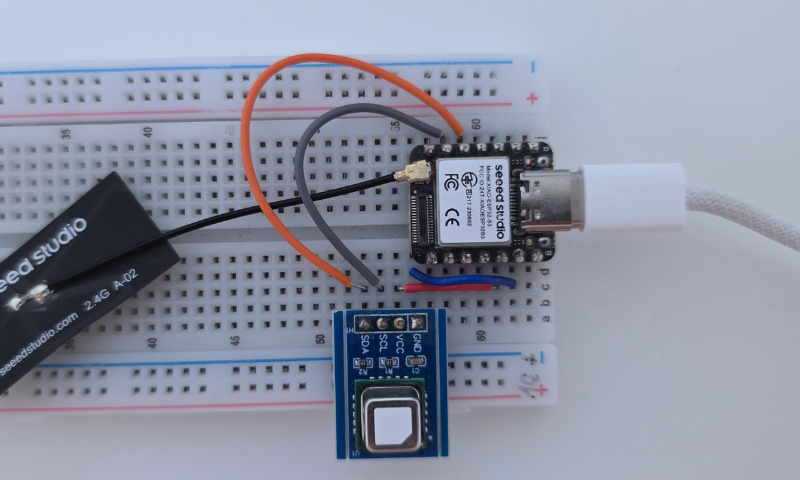
1. Learn how to flash and get started with any ESP32 board here.
2. Use the code from Project 1 as a base.
3. Add functionality to send variables to the cloud server.
CONFIG
    ONE_WIRE 12
ENDCONFIG

VAR T, H, F
// Declare variables:
// T – temperature in Celsius
// H – humidity in percent
// F – temperature in Fahrenheit

DHT_INIT(T, H, 300)
// Initialize DHT temperature & humidity sensor
// T will store temperature (°C)
// H will store humidity (%)
// 300 ms – sensor measurement interval

DISPLAY_INIT(I2C, HD44780, 20, 2)
// Initialize LCD display
// I2C – communication interface
// HD44780 – display controller
// 20 columns, 2 rows

VARS_PUBLISH(F,H)   // Sends the values of variables F and H to the server via a Wi-Fi connection

WHILE(1)
// Infinite loop for continuous measurements
    F = T * 9 / 5 + 32
    // Convert temperature from Celsius to Fahrenheit
    DISPLAY_TEXT(0, 0, "Temp: ", F.0, "F", Font_7x10, 1, 0x0000)
    // Display temperature on row 0 of the LCD
    DISPLAY_TEXT(0, 1, "Hum : ", H.0, "%", Font_7x10, 1, 0x0000)
    // Display humidity on row 1 of the LCD
    PAUSE 1000
    // Wait 1000 ms (1 second) before the next measurement
WEND
// End of infinite loop
Upload and run the program on the device.
Open the mobile app on your phone and go to the Widgets tab.
Add widgets to the dashboard: 2× Label and 1× Graph.
Label widgets can dynamically change text color based on user-defined value ranges, while the Graph widget visualizes data in real time.
Temperature
Meaning
HEX Color
RGB
32–50°F
Cold / Freezing
#1E90FF
🔵 Blue — cold
50–68°F
Cool
#00BFFF
🔷 Light Blue — cool
68–86°F
Mild / Comfortable
#3CB371
🟢 Green — comfortable
86–104°F
Warm
#FFD700
🟡 Yellow — warm
104–122°F
Hot
#FF8C00
🟠 Orange — hot
122–140°F
Very Hot / Danger
#DC143C
🔴 Red — dangerously hot
We can also add the Lamp widget, which can change its color depending on defined conditions and values.